Introduction
The crankshaft position sensor wiring harness is a crucial component in a vehicle’s engine system. It plays a vital role in transmitting signals from the crankshaft position sensor to the engine control module, allowing the engine to function properly.

When the wiring harness becomes faulty or damaged, it can lead to a variety of issues, including engine misfires, stalling, and reduced engine power. It is important to fix a faulty wiring harness as soon as possible to prevent further damage to the engine and ensure the vehicle’s optimal performance.
Understanding the role of the crankshaft position sensor wiring harness
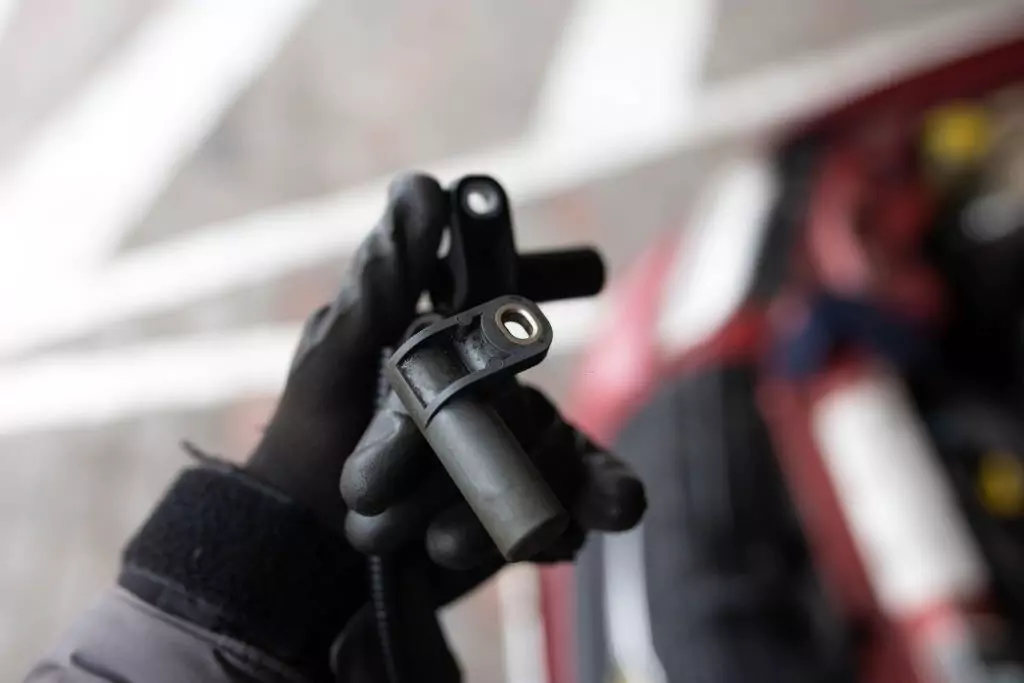
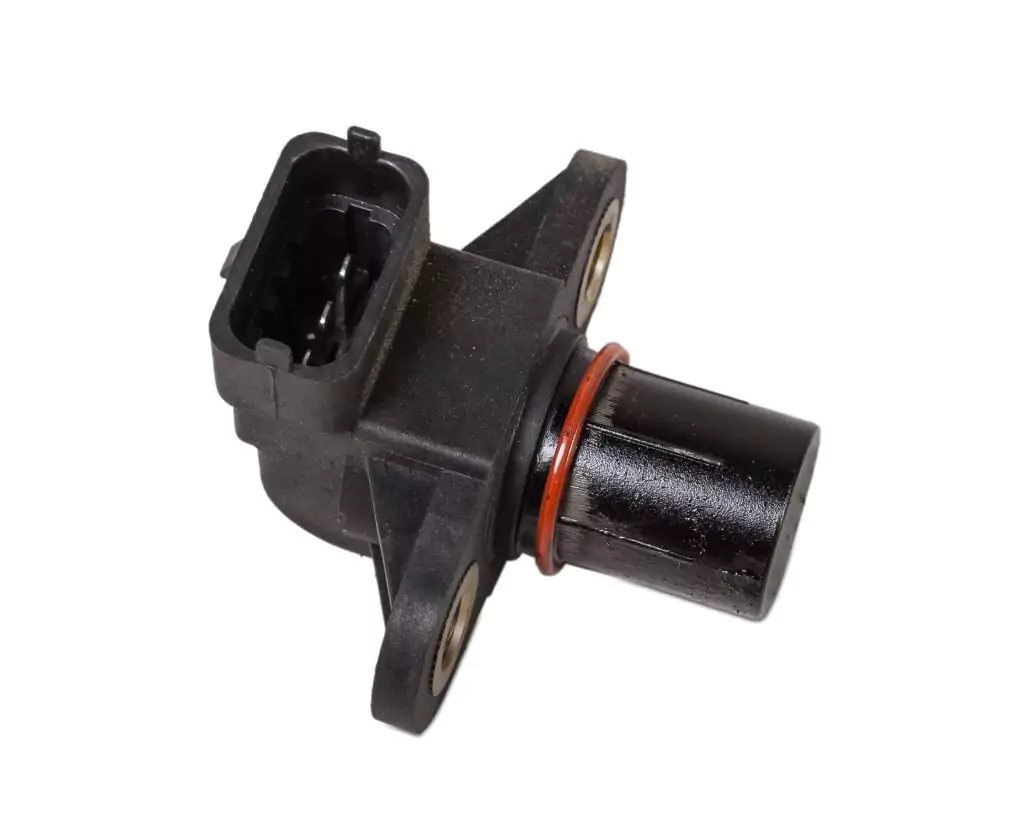
The crankshaft position sensor is responsible for monitoring the position and speed of the crankshaft in an internal combustion engine. It provides crucial information to the engine control module, allowing it to determine the precise timing of fuel injection and ignition. This information is essential for the engine to operate efficiently and smoothly.
The wiring harness is responsible for transmitting the signals from the crankshaft position sensor to the engine control module. It acts as a conduit, ensuring that the signals are accurately and reliably transmitted. Without a properly functioning wiring harness, the signals may be interrupted or distorted, leading to engine performance issues.
Identifying common symptoms of a faulty wiring harness
A faulty or damaged wiring harness can manifest in various symptoms. It is important to be aware of these symptoms so that you can identify and address any issues promptly. Some common symptoms of a faulty wiring harness include:
1. Engine misfires: A faulty wiring harness can cause intermittent or complete loss of signal transmission from the crankshaft position sensor. This can result in engine misfires, where the cylinders do not receive the correct amount of fuel or spark, leading to a rough running engine.
2. Stalling or rough idling: If the wiring harness is not transmitting signals properly, it can cause the engine to stall or idle roughly. This can be particularly noticeable when the vehicle is at a stop or when starting the engine.
3. Check engine light: A faulty wiring harness can trigger the check engine light to illuminate on the dashboard. This is often due to the engine control module detecting a problem with the signal transmission from the crankshaft position sensor.
4. Reduced engine power: When the wiring harness is not functioning correctly, it can result in reduced engine power. This can manifest as a lack of acceleration or a decrease in overall engine performance.

Gathering the necessary tools and materials for the repair
Before starting the repair process, it is important to gather all the necessary tools and materials. This will ensure that you have everything you need to complete the repair efficiently. Some tools you may need for repairing the crankshaft position sensor wiring harness include:
– Wire cutters/strippers
– Soldering iron and solder
– Heat shrink tubing
– Electrical tape
– Multimeter
– Screwdrivers
– Pliers
In addition to the tools, you may also need replacement wires, connectors, and terminals, depending on the extent of the damage to the wiring harness.
Locating the crankshaft position sensor and wiring harness
The crankshaft position sensor is typically located near the crankshaft pulley or flywheel. It may be mounted on the engine block or on the transmission bell housing. The wiring harness for the sensor usually runs along the engine block and connects to the engine control module.
To locate the sensor and wiring harness in your specific vehicle, consult the vehicle’s service manual or seek guidance from a professional mechanic.
Inspecting the wiring harness for damage or wear
Before proceeding with any repairs, it is important to thoroughly inspect the wiring harness for any signs of damage or wear. Some steps you can take to inspect the wiring harness include:
1. Visual inspection: Carefully examine the wiring harness for any visible signs of damage, such as frayed wires, loose connectors, or melted insulation. Pay close attention to areas where the harness may come into contact with hot or moving engine components.
2. Tug test: Gently tug on the wires and connectors to check for any loose connections or weak spots. If any wires or connectors feel loose or come off easily, they may need to be repaired or replaced.
3. Continuity test: Use a multimeter to check for continuity in the wiring harness. This will help identify any breaks or interruptions in the signal transmission.
Common areas where damage may occur include near the sensor itself, where the wiring harness may be exposed to heat and vibration, and near connectors or terminals, where the wiring may be subject to stress and strain.
Repairing damaged wires or connectors
If you identify any damaged wires or connectors during the inspection, it is important to repair them promptly to ensure proper signal transmission. Some steps you can take to repair damaged wires or connectors include:
1. Cut and strip: Use wire cutters/strippers to cut away the damaged portion of the wire. Strip the insulation from the ends of the wire to expose the bare metal.
2. Solder and heat shrink: Apply solder to the exposed metal ends of the wire and connect them together. Slide a piece of heat shrink tubing over the soldered joint and use a heat source, such as a heat gun, to shrink the tubing and provide insulation.
3. Secure with electrical tape: Once the heat shrink tubing has cooled and hardened, wrap electrical tape around the repaired area for added protection and stability.
It is important to ensure that all repairs are done securely and that the connections are properly insulated to prevent further damage.
Replacing the entire wiring harness if necessary
In some cases, the damage to the wiring harness may be extensive or beyond repair. In such situations, it may be necessary to replace the entire wiring harness. This is a more involved process and may require professional assistance.
When considering whether to replace the entire wiring harness, factors to consider include the extent of the damage, the availability of replacement parts, and the cost-effectiveness of the repair.
Properly securing the wiring harness to prevent future damage
Once the wiring harness has been repaired or replaced, it is important to properly secure it to prevent future damage. This will help ensure that the harness remains in place and is not subject to excessive vibration or movement. Some tips for securing the wiring harness include:
1. Use zip ties or clamps: Use zip ties or clamps to secure the wiring harness to nearby brackets or existing wiring looms. This will help keep the harness in place and prevent it from rubbing against other components.
2. Avoid sharp edges: When routing the wiring harness, avoid sharp edges or areas where it may come into contact with hot or moving engine components. Use protective sleeves or grommets to cover any exposed areas.
3. Maintain proper clearance: Ensure that the wiring harness has sufficient clearance from other components to prevent any interference or rubbing.
Testing the sensor and wiring harness after repair
After completing the repair, it is important to test the sensor and wiring harness to ensure that they are functioning properly. Some steps you can take to test the sensor and wiring harness include:
1. Clear any fault codes: Use a diagnostic tool to clear any fault codes that may have been triggered by the faulty wiring harness.
2. Monitor sensor readings: Use a multimeter or diagnostic tool to monitor the readings from the crankshaft position sensor. Compare these readings to the specifications provided by the vehicle manufacturer to ensure they are within the acceptable range.
3. Test engine performance: Take the vehicle for a test drive and monitor its performance. Pay attention to any signs of engine misfires, stalling, or reduced power.
If any issues persist after the repair, it may be necessary to reinspect the wiring harness or seek professional assistance.
Tips for maintaining the health of your vehicle’s wiring harnesses
To prevent future issues with the wiring harnesses in your vehicle, it is important to practice regular maintenance and take preventive measures. Some tips for maintaining the health of your vehicle’s wiring harnesses include:
1. Inspect regularly: Regularly inspect the wiring harnesses for any signs of damage or wear. Look for frayed wires, loose connectors, or melted insulation. Address any issues promptly to prevent further damage.
2. Keep clean and dry: Keep the engine compartment clean and dry to prevent moisture and debris from causing damage to the wiring harnesses. Avoid using excessive amounts of water when cleaning the engine.
3. Avoid modifications: Avoid making any modifications to the wiring harnesses or electrical system unless necessary. Unauthorized modifications can lead to compatibility issues and potential damage.
4. Follow proper installation procedures: When installing aftermarket components or accessories, follow the manufacturer’s instructions and ensure that the wiring harnesses are properly connected and secured.
Conclusion
The crankshaft position sensor wiring harness is a critical component in a vehicle’s engine system. It plays a crucial role in transmitting signals from the crankshaft position sensor to the engine control module, allowing the engine to function properly.
When the wiring harness becomes faulty or damaged, it can lead to a variety of issues, including engine misfires, stalling, and reduced engine power. It is important to fix a faulty wiring harness as soon as possible to prevent further damage to the engine and ensure the vehicle’s optimal performance.
By understanding the role of the crankshaft position sensor wiring harness, identifying common symptoms of a faulty harness, and following proper repair and maintenance procedures, you can ensure the health and longevity of your vehicle’s wiring harnesses. Regular inspections, prompt repairs, and proper installation techniques will help prevent issues and keep your vehicle running smoothly.
