
Introduction: Why Winterizing Your Travel Trailer is Important
Winterizing your travel trailer is an essential step to ensure its longevity and prevent any damage that can occur during the cold winter months. By taking the time to properly prepare your travel trailer for winter storage, you can avoid costly repairs and keep your investment in top condition.
If you neglect to winterize your travel trailer, you run the risk of encountering a range of issues. The most common problem is frozen pipes and water systems. When water freezes, it expands, which can cause pipes to burst and fittings to crack. This can lead to extensive water damage inside your travel trailer, resulting in costly repairs.
Additionally, without proper winterization, your travel trailer is susceptible to mold and mildew growth. Moisture can accumulate inside the trailer during the winter months, especially if there are any leaks or cracks in the windows or doors. Mold and mildew not only cause unpleasant odors but can also lead to health issues for those who spend time in the trailer.
Preparing Your Travel Trailer for Winter Storage
Before you begin the process of winterizing your travel trailer, it’s important to thoroughly clean both the interior and exterior. This will help prevent any dirt or debris from causing damage during storage and ensure that your trailer is ready for use when spring arrives.
Start by removing all perishable items from the trailer. This includes food, toiletries, and any other items that may spoil or attract pests. Thoroughly clean all surfaces, including countertops, cabinets, and appliances. Vacuum or sweep the floors and wipe down any upholstery or curtains.
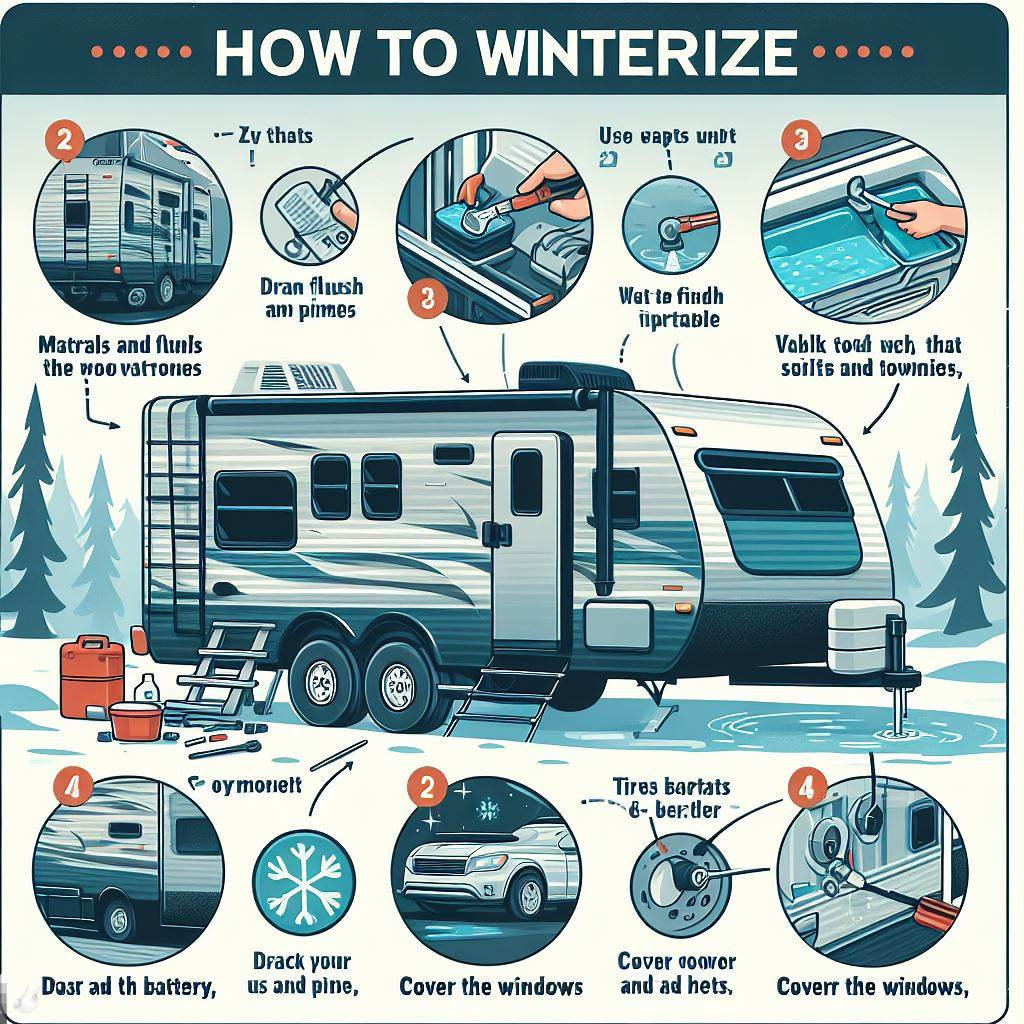
Next, remove all batteries from your travel trailer. Batteries can freeze during the winter months, which can cause them to lose their charge or even leak acid. Store the batteries in a warm, dry place and periodically charge them to maintain their lifespan.
Checking and Sealing Windows and Doors
Inspect all windows and doors for any cracks or gaps that may allow cold air or moisture to enter your travel trailer. Use weatherstripping or caulk to seal any areas that need attention. This will help keep your trailer insulated and prevent drafts, which can lead to higher heating costs and discomfort during winter camping trips.
Pay close attention to the seals around windows and doors, as these are common areas for air leaks. Replace any worn or damaged seals to ensure a tight seal. Additionally, consider adding thermal curtains to your windows. These curtains are designed to keep heat inside and cold air out, providing an extra layer of insulation for your travel trailer.
Insulating Your Travel Trailer for Cold Weather
To further protect your travel trailer from the cold weather, consider adding insulation to the walls, floors, and ceilings. This will help maintain a comfortable temperature inside the trailer and reduce the amount of heat loss.
There are several options for insulating your travel trailer. One popular choice is foam board insulation, which can be cut to fit the walls and ceilings. Another option is reflective insulation, which is lightweight and easy to install. Whichever method you choose, make sure to follow the manufacturer’s instructions for proper installation.
In addition to insulation, using thermal curtains can also help keep heat inside your travel trailer. These curtains are designed with a thermal lining that helps block out cold air and retain warmth. Install these curtains on all windows and doors for maximum insulation.
Draining and Flushing Water Systems
One of the most important steps in winterizing your travel trailer is draining all water from the tanks and pipes. This includes the fresh water tank, gray water tank, and black water tank. Failure to properly drain these tanks can result in frozen pipes and costly repairs.
Start by emptying the black water tank at a designated dump station. Use a hose to flush out any remaining waste and debris. Next, empty the gray water tank, which contains water from sinks and showers. Finally, drain the fresh water tank by opening the drain valve.
After draining the tanks, it’s important to flush the pipes with antifreeze. This will help prevent any remaining water from freezing and causing damage. Use a non-toxic RV antifreeze specifically designed for this purpose. Follow the manufacturer’s instructions for proper use and make sure to flush all faucets, toilets, and other plumbing fixtures.
Winterizing Your Plumbing System
In addition to flushing the water systems with antifreeze, there are a few other steps you can take to winterize your plumbing system. Start by adding antifreeze to the plumbing system. This can be done by pouring antifreeze into the drains and toilet bowl, as well as into any other plumbing fixtures.
Next, protect the water heater and other plumbing fixtures from freezing temperatures. This can be done by draining the water heater and adding antifreeze to any exposed pipes or fittings. Follow the manufacturer’s instructions for proper winterization of these components.
It’s also a good idea to insulate any exposed pipes or fittings with foam pipe insulation. This will provide an extra layer of protection against freezing temperatures. Make sure to secure the insulation with tape or zip ties to ensure it stays in place.
Protecting Your Travel Trailer’s Battery
During winter storage, it’s important to remove the battery from your travel trailer and store it in a warm, dry place. Cold temperatures can cause batteries to lose their charge or even freeze, which can lead to permanent damage.
Before removing the battery, make sure to disconnect it from any power sources and turn off all electrical systems in your travel trailer. Clean the battery terminals with a wire brush and apply a thin layer of petroleum jelly to prevent corrosion.
Store the battery in a location that maintains a temperature above freezing, such as a garage or basement. Periodically check the battery’s charge and recharge it as needed to maintain its lifespan.
Storing Your Travel Trailer Properly
Choosing the right storage location for your trailer is crucial to its protection during the winter months. Ideally, you should store your trailer in a covered storage facility or garage. This will provide the most protection from the elements and prevent any damage from snow, ice, or extreme temperatures.
If indoor storage is not an option, consider using a protective cover for your travel trailer. Look for a cover specifically designed for RVs, as these will provide the best fit and protection. Make sure to properly secure the cover to prevent any damage from wind or other weather conditions.
Before storing your travel trailer, make sure to clean it thoroughly and remove any perishable items. This will help prevent any odors or pests from developing during storage. It’s also a good idea to remove any valuables or personal items from the trailer to prevent theft.
Tips for Maintaining Your Travel Trailer During Winter
Even with proper winterization, it’s important to periodically check on your travel trailer during the winter months. This will allow you to catch any issues early and make any necessary repairs before they become major problems.
Check on your travel trailer at least once a month to ensure that it is secure and in good condition. Look for any signs of damage, such as leaks or cracks in the windows or doors. Remove any snow or ice from the roof to prevent excess weight and potential damage.
If you live in an area with heavy snowfall, consider investing in a roof rake to safely remove snow from your travel trailer. This will help prevent any damage from excessive weight and reduce the risk of leaks or collapses.
Conclusion: Enjoying a Stress-Free Winter with Your Travel Trailer
Winterizing your travel trailer is an essential step to ensure its longevity and protect it from the harsh winter weather. By following these steps and properly preparing your trailer for winter storage, you can enjoy a stress-free winter and be ready to hit the road when spring arrives.
Remember to thoroughly clean your travel trailer, remove all perishable items, and drain and flush the water systems. Inspect and seal any cracks or gaps in the windows and doors, and consider adding insulation to keep your trailer warm. Protect your battery by removing it and storing it in a warm, dry place.
Choose the right storage location for your travel trailer, whether it’s indoors or covered with a protective cover. Check on your trailer periodically during the winter months to ensure it is secure and in good condition. By taking these steps, you can enjoy winter camping with a properly winterized travel trailer and avoid any costly repairs or damage.