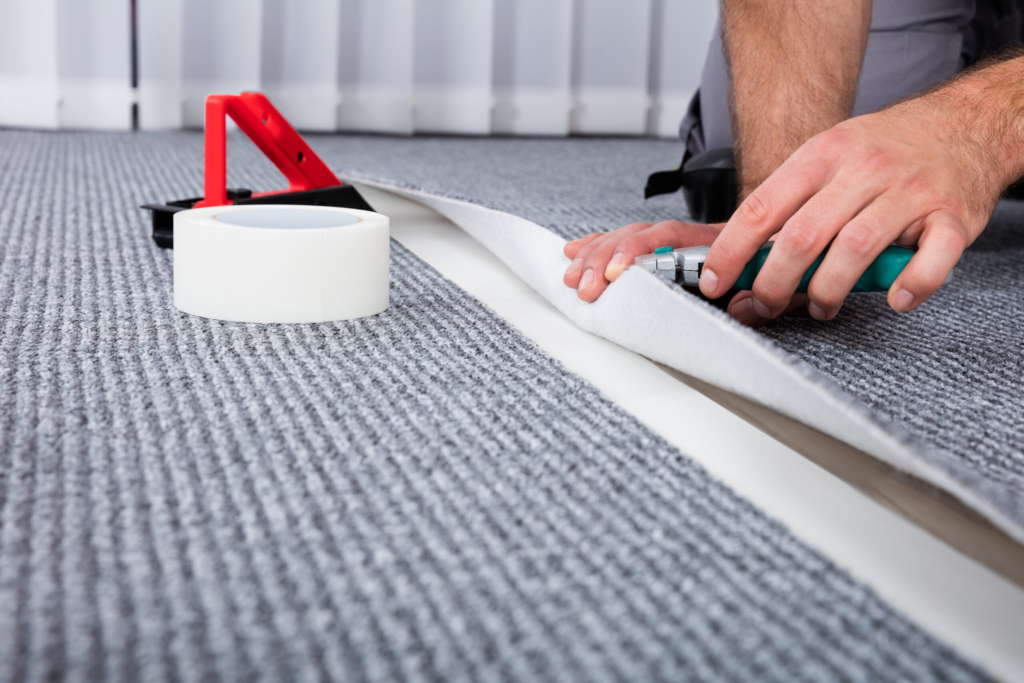
Seaming carpet, the process of joining two pieces of carpet together, is a skill that can elevate the aesthetics and functionality of a room. Whether you’re tackling a DIY carpet installation or addressing a repair, knowing how to seam carpet correctly is essential for achieving a seamless and professional look. In this comprehensive guide, we’ll walk you through the step-by-step process of mastering the art of carpet seaming.

Tools and Materials You’ll Need:
Before delving into the seaming process, gather the necessary tools and materials:
- Carpet Seam Iron:
- Essential for activating the adhesive on the seaming tape.
- Seaming Tape:
- Reinforces the seam and provides a stable foundation for the adhesive.
- Carpet Knife:
- Used for precise cutting of the carpet.
- Straight Edge:
- Ensures straight and accurate cuts.
- Measuring Tape:
- Measures the length needed for seaming.
- Chalk or Marker:
- Marks guidelines on the carpet for cutting and seaming.
- Knee Kicker:
- Aids in stretching and positioning the carpet.
- Utility Gloves:
- Provides protection during cutting and handling.
Step-by-Step Guide to Seaming Carpet:
1. Prepare the Room:
- Clear the room of furniture and vacuum the floor thoroughly.
2. Measure and Cut the Carpet:
- Measure the area where seaming is needed, adding a few inches for trimming.
- Use a straight edge and chalk or marker to mark cutting guidelines.
- Cut the carpet along the marked lines using a carpet knife.
3. Position the Carpet:
- Position the carpet pieces in place, ensuring the pile direction is consistent.
4. Install Seaming Tape:
- Place seaming tape under the seam area, adhesive side up.
- Ensure the edges of the carpet pieces meet precisely over the seaming tape.
5. Activate the Adhesive:
- Use a carpet seam iron to activate the adhesive on the seaming tape.
- Follow the manufacturer’s instructions for the appropriate heat setting and duration.
6. Press and Seal:
- Once the adhesive is activated, press the carpet edges together firmly.
- Use a carpet roller or your hands to ensure a secure bond.
7. Trim Excess Carpet:
- Use a carpet knife to trim any excess carpet along the seam.
- Cut at a slight angle to create a seamless transition.
8. Stretch and Tuck:
- Use a knee kicker to stretch the carpet and eliminate any wrinkles or bulges.
- Tuck the edges of the carpet under baseboards or into doorways.
9. Inspect and Test:
- Inspect the seam for any imperfections or gaps.
- Walk or crawl over the seam to test its durability and ensure a secure bond.
Tips for a Flawless Carpet Seam:
- Invest in Quality Tools:
- High-quality tools contribute to clean cuts and professional results.
- Align the Pile Direction:
- Ensure the pile direction of the carpet pieces aligns for a seamless appearance.
- Choose the Right Seaming Tape:
- Select seaming tape compatible with your carpet type and the adhesive used.
- Follow Manufacturer Guidelines:
- Adhere to the manufacturer’s guidelines for seaming tape activation and carpet stretching.
- Take Your Time:
- Rushing the seaming process can lead to mistakes. Take your time to ensure precision.
- Practice on Scrap Material:
- If you’re new to carpet seaming, practice on scrap material before working on the actual installation.
Conclusion:
Mastering the art of carpet seaming requires attention to detail, precision, and the right set of tools. Whether you’re a seasoned DIY enthusiast or tackling your first carpet installation, following this step-by-step guide will empower you to seam carpet like a pro. Achieving a flawless and durable seam not only enhances the visual appeal of the carpet but also contributes to the overall comfort and longevity of your flooring.
