
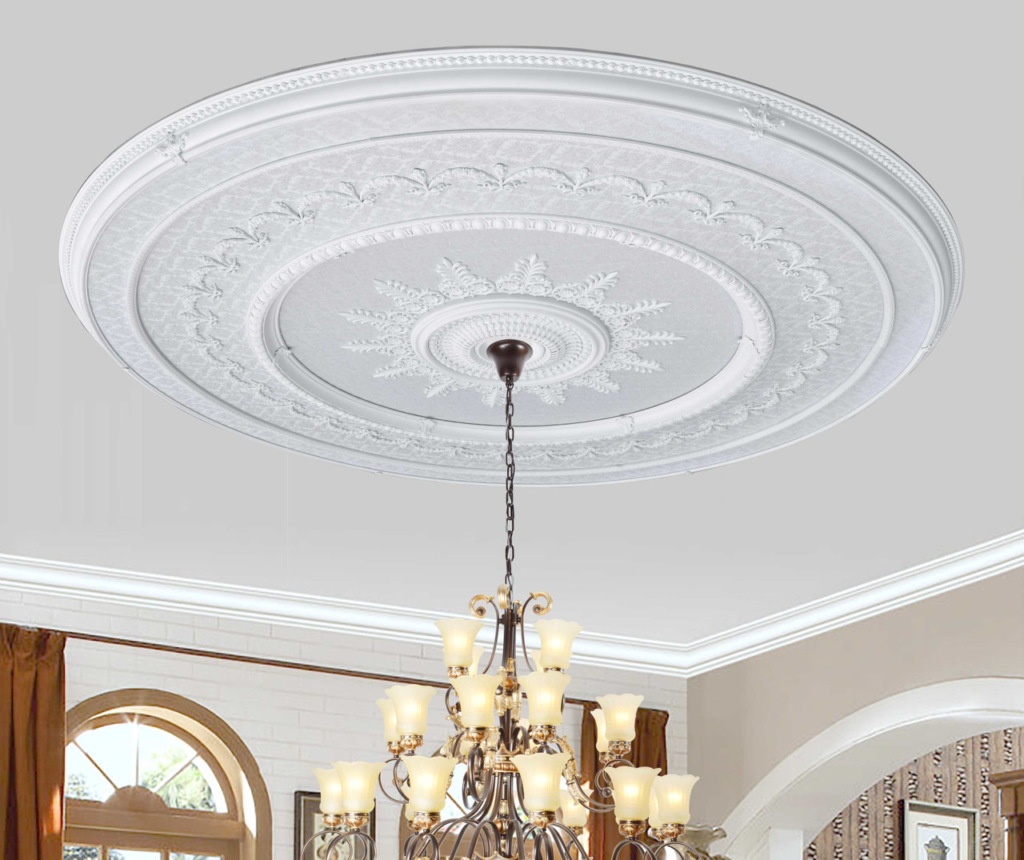
A ceiling medallion is a decorative element that is installed on the ceiling, typically around a light fixture or chandelier. It is usually made of plaster, polyurethane, or wood and comes in various shapes and sizes. Ceiling medallions have been used for centuries to add elegance and charm to a room.
There are several benefits to installing a ceiling medallion. Firstly, it adds visual interest and enhances the overall look of a room. It can serve as a focal point and draw attention to the ceiling, which is often overlooked in interior design. Additionally, a ceiling medallion can help to create a cohesive and finished look in a space.
Choosing the Right Ceiling Medallion: Size, Style, and Material
When choosing a ceiling medallion, there are several factors to consider. Firstly, you need to determine the size of the medallion that will best suit your room. A general rule of thumb is to choose a medallion that is proportional to the size of the room. A larger room can accommodate a larger medallion, while a smaller room may require a smaller one.
In terms of style, there are countless options available. You can choose from traditional, ornate designs or more modern and minimalist styles. Consider the overall aesthetic of your space and choose a medallion that complements it. Additionally, you should also consider the material of the medallion. Plaster medallions are more traditional and offer a classic look, while polyurethane and wood medallions are more versatile and can be painted to match any color scheme.
Tools and Materials Needed for DIY Ceiling Medallion Installation
Before you begin the installation process, you will need to gather the necessary tools and materials. The tools you will need include a ladder, measuring tape, pencil, level, utility knife, caulk gun, sandpaper, and a paintbrush. As for materials, you will need the ceiling medallion itself, adhesive or screws for installation, caulk for filling gaps, primer, and paint.
You can purchase these materials at your local home improvement store or online. It is recommended to buy the medallion first so that you can accurately measure and choose the right size for your room. When purchasing adhesive or screws, make sure to choose ones that are suitable for your specific ceiling material.
If you are on a budget, there are ways to save money on supplies. Look for sales or discounts at your local home improvement store. You can also consider purchasing second-hand or discounted medallions from online marketplaces. Additionally, consider borrowing tools from friends or family if you do not already own them.
Preparing Your Ceiling: Cleaning, Marking, and Measuring
Before installing the ceiling medallion, it is important to prepare your ceiling. Start by cleaning the surface to remove any dust or debris. Use a damp cloth or sponge to wipe down the ceiling and ensure it is clean and dry before proceeding.
Next, mark the center of the ceiling where the medallion will be installed. Measure the width and length of the room and find the midpoint of each measurement. Use a pencil to mark these points on the ceiling. Then, use a level to connect these marks and create a crosshair in the center of the ceiling.
Once you have marked the center of the ceiling, measure the diameter of the medallion. Divide this measurement in half to find the radius. Use a pencil and measuring tape to mark the radius from the center of the ceiling in all four directions. This will create a square or rectangle that represents the outer edges of the medallion.
Cutting the Hole for the Medallion: Tips for a Perfect Fit
Now that you have marked the location of the medallion, it is time to cut the hole in the ceiling. Start by using a utility knife to score along the lines you have marked. This will create a guide for cutting.
Next, use a drywall saw or jigsaw to carefully cut along the scored lines. Take your time and make slow, steady cuts to ensure accuracy. It is important to follow the lines precisely to create a clean and even hole.
When cutting, be mindful of any electrical wires or plumbing that may be hidden in the ceiling. If you are unsure, it is best to turn off the power or consult a professional before proceeding.
Installing the Medallion: Adhesive vs. Screws, and How to Secure It
There are two main methods for installing a ceiling medallion: adhesive and screws. The method you choose will depend on your personal preference and the type of medallion you have.
To install with adhesive, apply a generous amount of construction adhesive to the back of the medallion. Make sure to cover the entire surface evenly. Then, carefully position the medallion over the hole in the ceiling and press it firmly into place. Hold it in position for a few minutes to allow the adhesive to bond.
If you prefer to use screws, start by drilling pilot holes into the medallion at regular intervals around its perimeter. Then, position the medallion over the hole in the ceiling and align it with the marks you made earlier. Insert screws through the pilot holes and into the ceiling, tightening them until the medallion is secure.
Filling the Gaps and Seams: Caulking and Sanding for a Smooth Finish
After installing the medallion, you may notice gaps or seams between the medallion and the ceiling. These can be filled with caulk to create a seamless and professional-looking finish.
Start by applying a bead of caulk along the edges of the medallion where it meets the ceiling. Use a caulk gun for precise application. Then, use your finger or a damp cloth to smooth out the caulk and remove any excess. This will create a clean and even finish.
Once the caulk has dried, use sandpaper to smooth out any rough edges or imperfections. Gently sand the surface of the medallion until it is smooth to the touch. Be careful not to apply too much pressure or you may damage the medallion.
Priming and Painting the Medallion: Color and Finish Options
Before painting the medallion, it is important to prime it first. Priming helps to create a smooth surface for paint to adhere to and ensures an even finish. Apply a coat of primer to the entire surface of the medallion using a paintbrush or roller. Allow it to dry completely before proceeding.
Once the primer has dried, you can paint the medallion in your desired color. Choose a paint that is suitable for your specific material, whether it is plaster, polyurethane, or wood. Use a paintbrush or roller to apply an even coat of paint to the entire surface of the medallion. Allow it to dry completely before applying additional coats if necessary.
When choosing a color, consider the overall color scheme of your room. You can either match the medallion to the ceiling for a seamless look or choose a contrasting color to make it stand out. Additionally, consider the finish of the paint. A glossy finish will create a more formal and elegant look, while a matte finish will create a more subtle and understated look.
Installing Light Fixtures: Wiring and Mounting on the Medallion
If you plan to install a light fixture or chandelier on the medallion, you will need to wire and mount it properly. Start by turning off the power to the room at the circuit breaker. This will ensure your safety while working with electrical components.
Next, follow the manufacturer’s instructions for wiring the light fixture. Connect the wires from the fixture to the corresponding wires in the ceiling using wire nuts. Make sure to secure the connections tightly and cover them with electrical tape for added safety.
Maintenance and Care: Cleaning and Repairing Your Ceiling Medallion
To keep your ceiling medallion looking its best, regular cleaning and maintenance are necessary. Use a soft cloth or duster to remove any dust or debris that may accumulate on the surface of the medallion. Avoid using harsh chemicals or abrasive cleaners, as they can damage the finish.
If your medallion becomes damaged or develops cracks over time, it can be repaired. Use caulk or wood filler to fill any cracks or gaps in the medallion. Allow it to dry completely before sanding and painting over the repaired area.
Enjoying Your DIY Ceiling Medallion and Showing It Off!
In conclusion, installing a ceiling medallion is a great way to add elegance and charm to any room. It enhances the overall look of the space and can serve as a focal point. By choosing the right size, style, and material, you can create a cohesive and finished look in your room.
With the right tools and materials, you can easily install a ceiling medallion yourself. By following the steps outlined in this article, you can achieve a professional-looking result. Remember to take your time and be mindful of safety precautions.
Also read: Empowering Your Home: How to Connect a Generator to a House